
Morning! After sometime without news, I would like to thank you and welcome back to virtualcloudblog.com and thanks for checking it out. This post will be basically focused in vRealize Network Insight (release 3.9).
What is vRealize Network Insight?
vRealize Network Insight (in advance vRNI) provides a powerful solution that augments a VMware NSX installation. It includes but is not limited to the following features. It allows a single pane of glass view of the VMware NSX environment including traffic flows, insights into microsegmentation in the environment, troubleshooting, and a host of other features and reporting that provides great insight into the SDN traffic flows. VMware vRNI also can talk to not only to NSX but also distributed switches as well as even physical switches (please check compatibility).
vRNI is a product for delivering intelligent operations for your SDN environment (specially based on NSX). vRNI , allows a single pane of glass view of the VMware NSX environment, and integrates with NSX to deliver intelligent operations for software defined networking.
What is vRNI key benefit?
- 360 degree visibility and end-to-end troubleshooting across converged infrastructure and physical and virtual networks,
- Performance optimization and topology mapping.
- Advanced monitoring to ensure health and availability of NSX.
- Pre-deployment planning that includes tools to deploy VMware NSX more efficiently including microsegmentation planning as well.
- Physical switch vendor integration, traffic analytics, change tracking etc.
- Extensive 3rd party physical switch integrations
- East-west traffic analytics for security and micro-segmentation design
System Requirements:
We need to download 2 files, the “platform” and the “proxy” OVF files.
All configurations and settings will be made on the “platform” appliance and the “proxy” appliance is the one which hold the job to collect the incoming data, massage it and then pass it to Platform appliance where the actual analysis is done. Customer has to deploy both the appliance in the same order as mentioned above.
- vRealize Network Insight – Platform OVA file. In my case, vRNI will not be installed in cluster mode, so there are two sizes, Medium and Large

- vRealize Network Insight – Proxy OVA file. There are two sizes, Medium & Large. (Please be aware of last option requires assistance from the VMwareSupport team)

Other important requirements and considerations:
- The maximum time skew between the platform nodes has to be lesser than 30 seconds.
- The availability of the NTP service is critical to system operations. Ensure that you do not reboot the platform node or the proxy server node when the NTP service is not available.
- vRealize Network Insight services crashes and does not recover automatically when the existing compute resources are used up by the other processes on the platform. If the services fail to recover, reboot the platform node.
Installation steps:
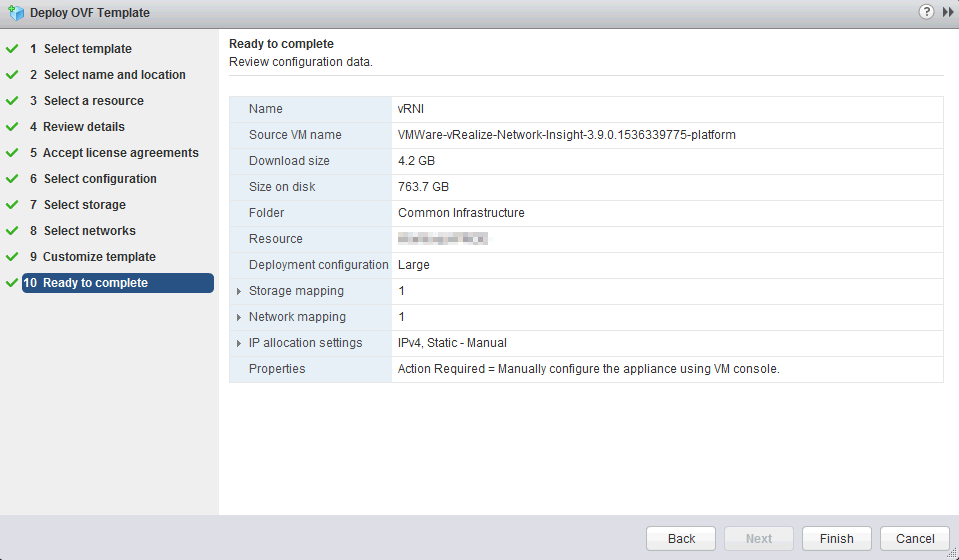
- Deploy vRNI Platform .ova file using vSphere web console and follow the wizard selecting the template, location, storage, network, etc…. I would bet this is not the first time you deploy an OVF File.
- Open the console from Webclient and follow the steps. At the login screen login with username consoleuser and password (as mentioned on login screen). Type setup and enter the password for each username. Step 1/5

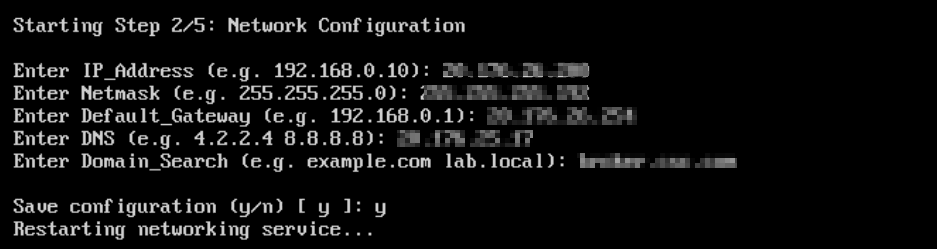
- After that, configure the IP, mask GW, DNS and domian, and save your network configuration. Step 2/5
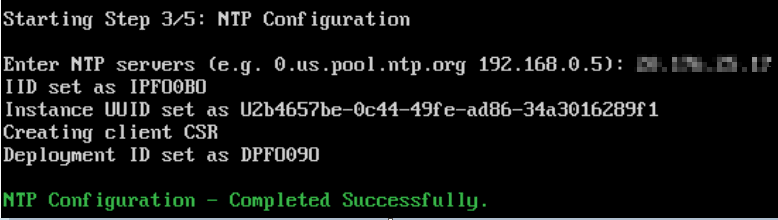
- Now, configure the NTP and save the configuration. Step 3/5
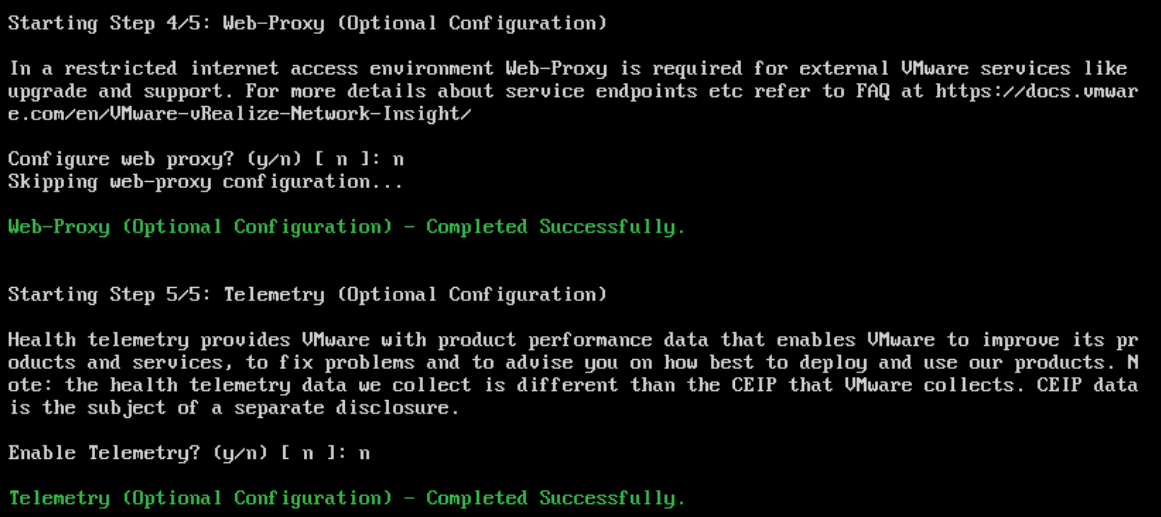
- Step 4/5 and Step 5/5 are related to the proxy (it will configured later) and Telemetry (in my case, it’s not needed).
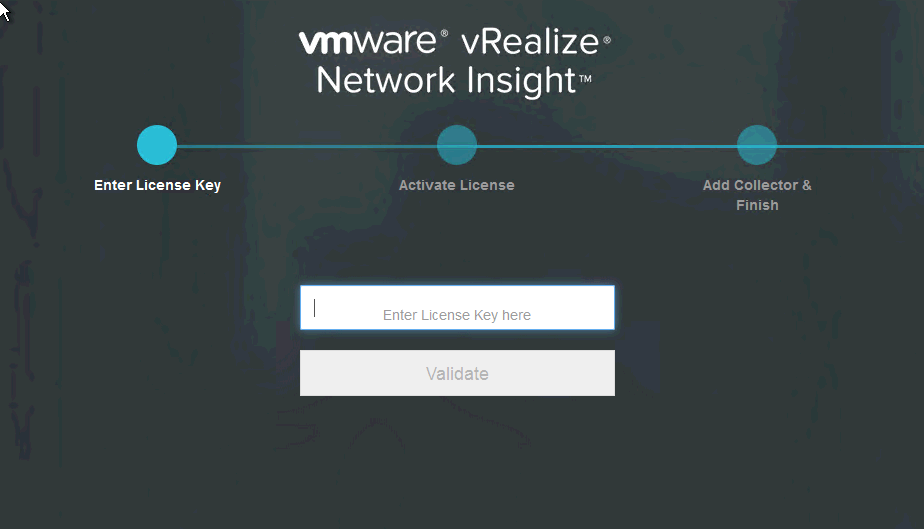
- Now browse to https://<vRNI_FQDN_or_IP_address> and you will see the following screen. You need to provide valid license key and set admin@local password which will be used to access vRNI user interface.
- Copy and paste (in a notepad for example) the “shared key”.
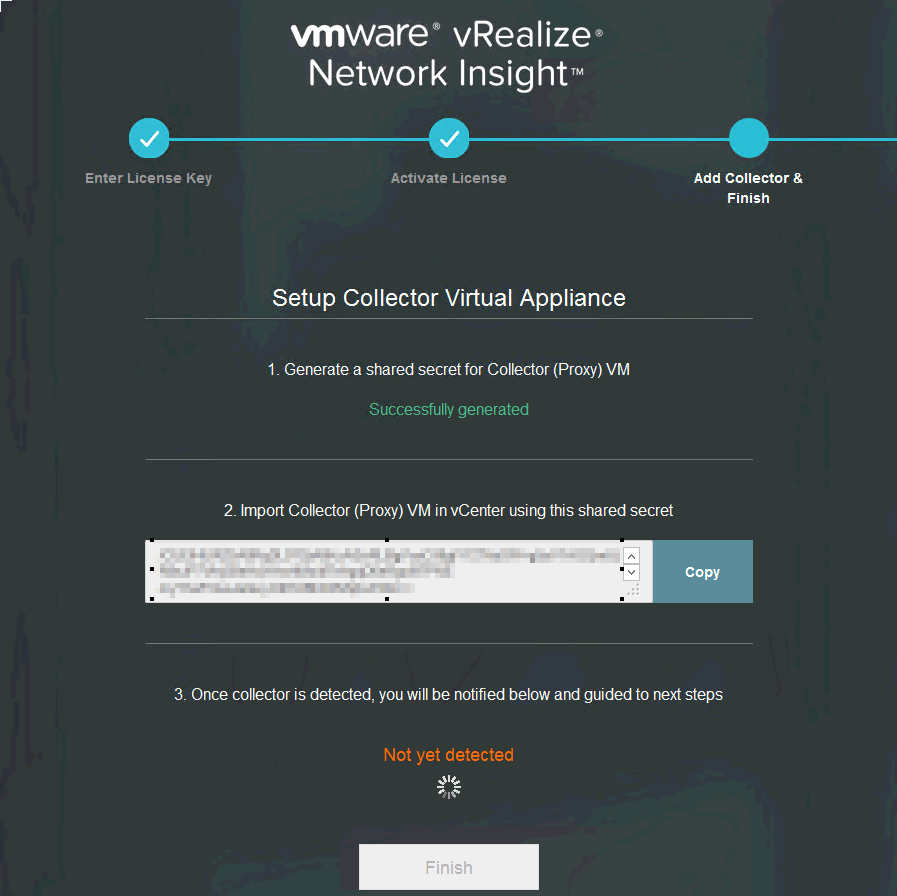
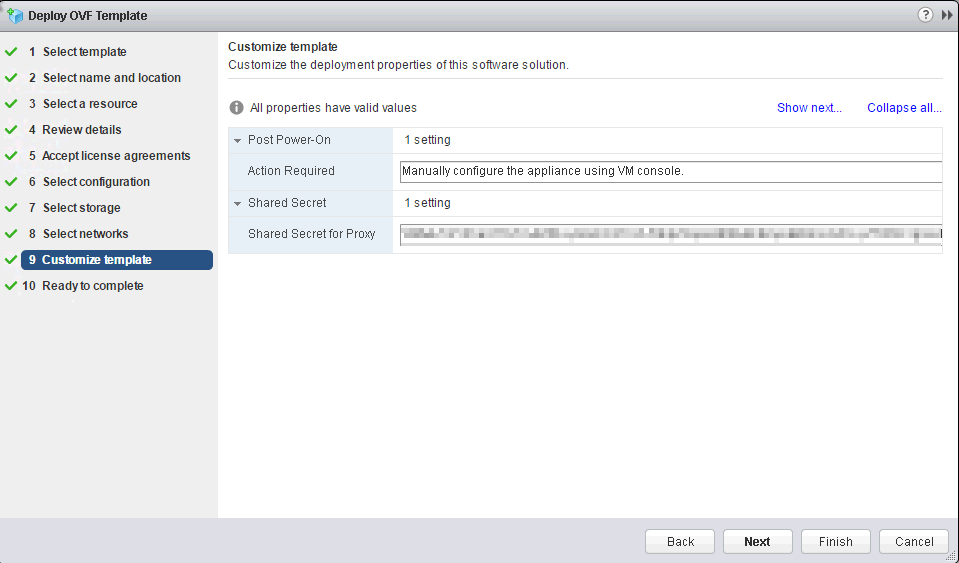
- Now platform OVF proxy is needed. Using same steps as shown above and deploy the proxy OVF file and paste the shared key in the step 9
- Open the console from Webclient and follow the steps. At the login screen login with username consoleuser and password (as mentioned on login screen). Type setup and enter the password for each username. Step 1/6

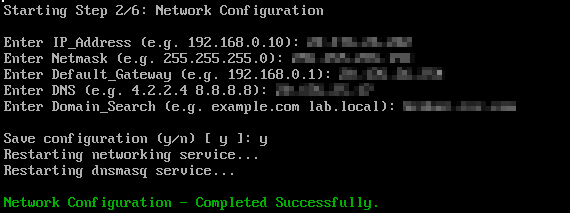
- After that, configure the IP, mask GW, DNS and domian, and save your network configuration. Step 2/6
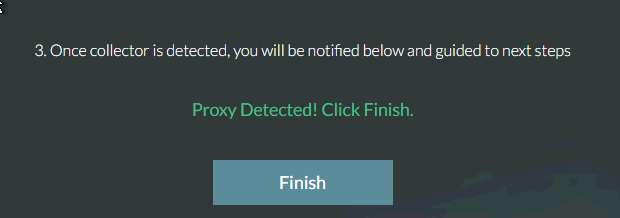
- Once the configuration is saved, Platform vm will detect the Proxy one and a message will appear. It confirms that both the vm have established connection and the deployment is completed successfully!!!
Configuration steps:
Go to https://<vRNI_FQDN_or_IP> and using admin@local and the pass you configured previously. Now it’s time to configure a provider, currently only VMware or AWS is allowed. 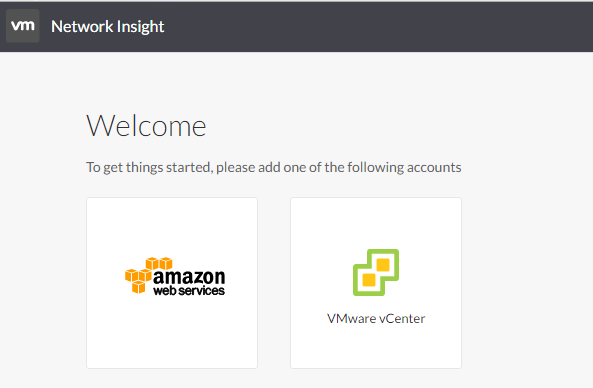
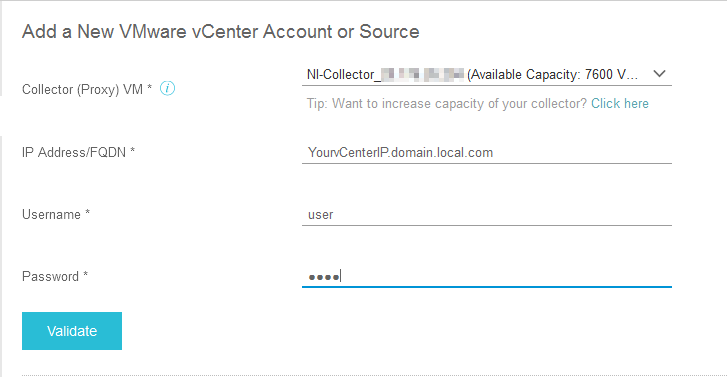
Select VMware vCenter and click on Settings for configurations, enter the vCenter IP address, user and password information to connect to the vCenter server for monitoring and click on
What’s New in vRNI 3.9
Here are the key features and capabilities of vRealize Network Insight 3.9:
NSX-T Support Enhancements
- Support for NSX Distributed Firewall (DFW) generated IPFIX flows and firewall rule recommendations to the micro-segmentation applications.
- Support for VM-VM path and VM underlay path for VMs for the VMs managed by NSX-T.
Pin board Enhancements
- Increased the maximum number of supported pin boards to 500.
- Single step process of creating a pin board and adding pins.
- Share pin boards with other users.
- View existing pin boards in the pin board library.
- Timeline controls within pin boards.
- Customize the pin board titles and pin names.
Auto-Refresh
Pin boards and Entity dashboards can auto-refresh with configurable timers.
Support for NSX DFW Universal Artifacts
The universal artifacts can be generated and exported for the Application and the Tier groups.
Improved Scale and Performance
Increased scale limits to 30,000 VMs and 10 million flows. Refer to the System Recommendations and Requirements section in the vRealize Network Insight Installation Guide for recommended proxy and platform node sizes.
Thanks for share it!!
Please find below 3 useful links.
Official VMware vRNI 3.9 installation doc.