
Morning! welcome to virtualcloudblog.com and thanks for checking it out. Today, I’ll write this post about Azure.
What is Azure?
Azure is a Microsoft set of cloud services to help your organization meet your business challenges. It’s the freedom to build, manage, and deploy applications on a massive, global network using your favorite tools and frameworks. Microsoft Azure is a cloud computing service that works similarly to Amazon Web Services (AWS), the Google Cloud Platform or IBM Cloud.
Azure provides a range of cloud services, including those for compute, analytics, storage and networking. Users can pick and choose from these services to develop and scale new applications, or run existing applications, in the public cloud
How Anyone Can Use Azure.
Just go to the Azure website and you’ll can sign up for a new account. Each account comes with $150 in credit that you can use over the first 30 days.
What is a Azure Virtual Network?
Virtual network peering links virtual networks, enabling you to route traffic between them using private IP addresses. Ingress and egress traffic is charged at both ends of the peered networks.
Tips about virtual networks:
- Is free of charge. Every subscription is allowed to create up to 50 virtual networks across all regions..
- Network appliances such as VPN Gateway and Application Gateway that are run inside a virtual network are also charged
- Public IP addresses, and reserved IP addresses used on services inside a virtual network, are charged
For Virtual Networkspricing, please visit here, to avoid extra charges in your credit card!
How to create a Azure Public IP?
Log in Azure Portal, Go to All services, scroll down to Networking and Public IP Addresses.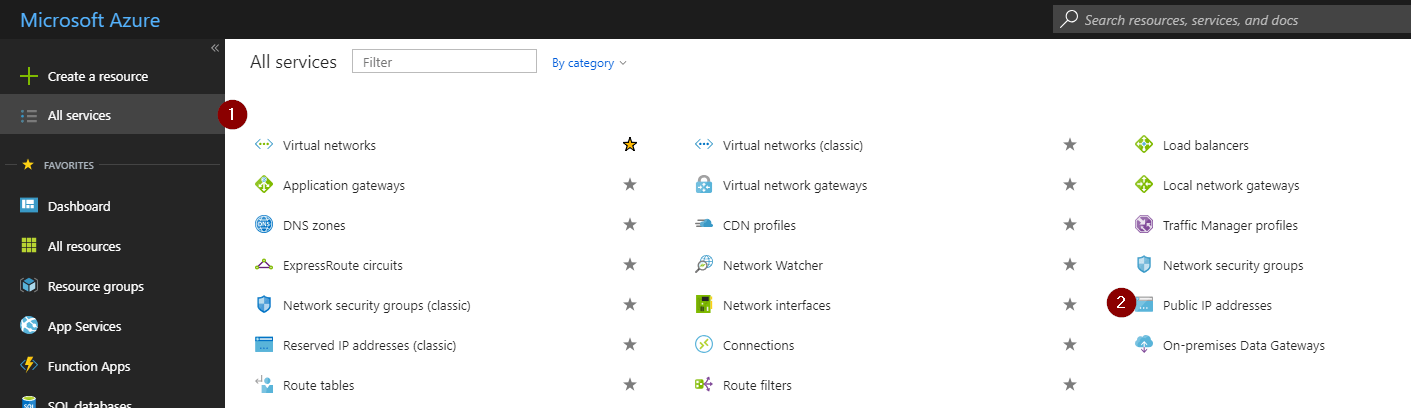
Enter the necessary information, such as Name, SKU, IP version, IP address assignment, idle timeout, <your_dns_name>, subscription, resource group and location.
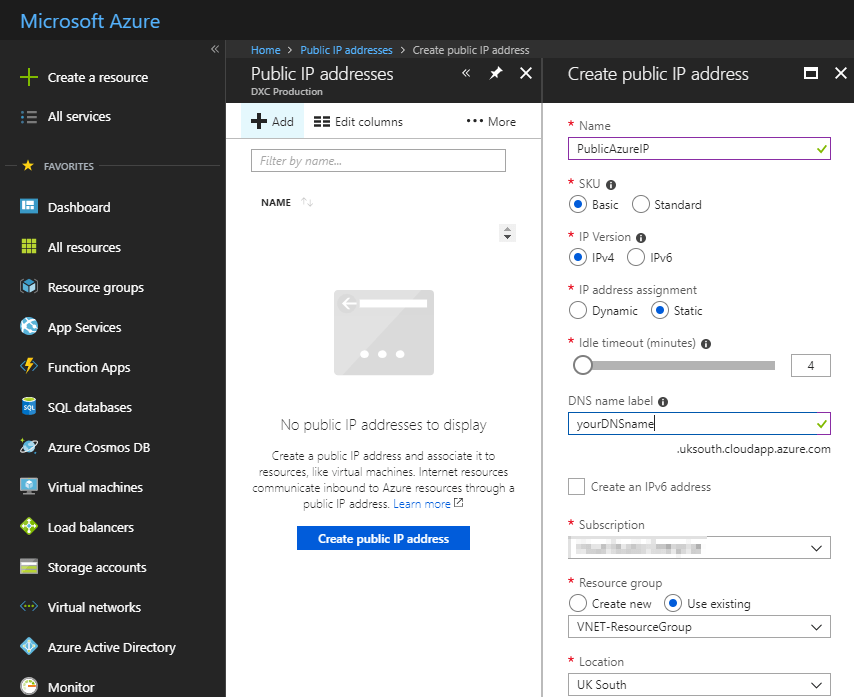
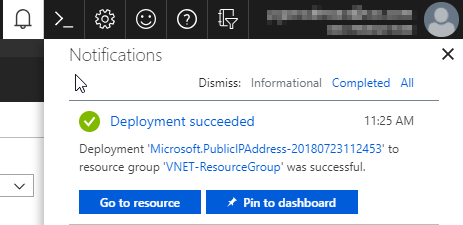
And click “Create”. From the Notification bel, you can see the status of the Public IP creation process. After a couple of minutes, the new Public IP will be avaible.
 Clicking on “Go to resource”, we’ll see the DNS name (in case of blank, Azure create an automatic resolution for you), the Public IP some other values.
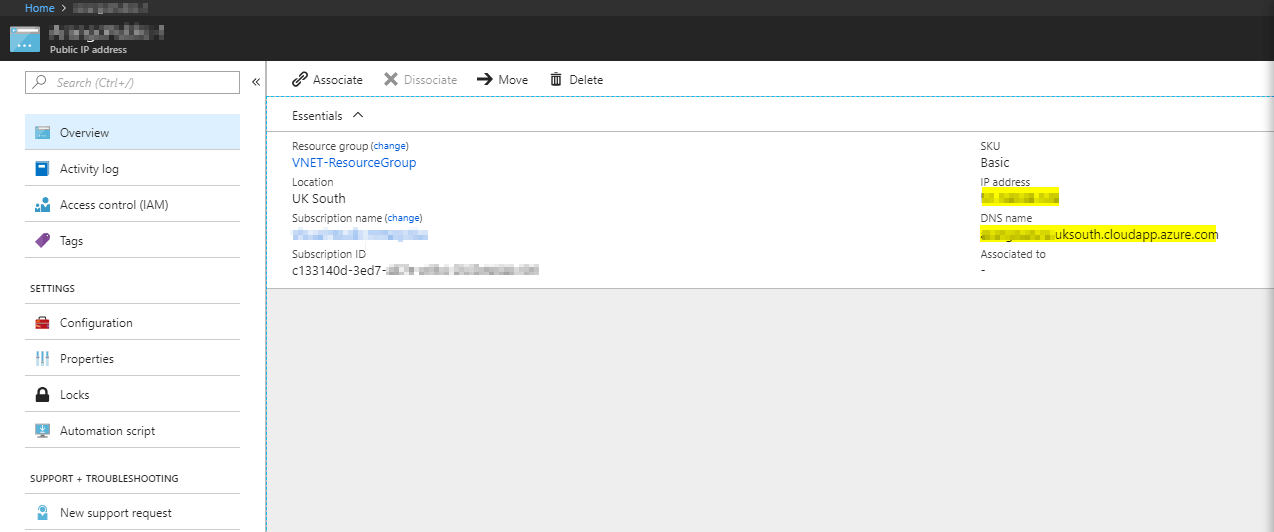
From configuration tab, DNS name can be changed and from Properties your subscription can be also changed. (just in case you need to bill this resources to a customer). From Automation script tab, you can “donwload” the code to create Public IP using different script languajes. 
For Public IP pricing, please visit here, to avoid extra charges in your credit card!