
Morning! welcome to virtualcloudblog.com and thanks for checking it out. Today, I’ll write this post about Cisco UCS and how to define and configure new vLANs. but let me introduce UCS having background info would be very benicial.
About Cisco UCS.
For sure you know Cisco but I would like to introduce UCS. It’s a Unified Computing System (UCS) and it’s a converged data center architecture that integrates computing, networking and storage resources to increase efficiency and enable centralized management. The goal of a UCS product line is to simplify the number of devices that need to be connected, configured, cooled and secured and provide administrators with the ability to manage everything through a single graphical interface (CLI is available and some commands are only CLI avaible).
Cisco UCS products have the ability to support traditional operating sytem (OS) and application stacks in physical environments, but are optimized for virtualized environments. Everything is managed through Cisco UCS Manager, a software application that allows administrators to provision the server, storage and network resources all at once from a single pane of glass.
In the lab, UCS Emulator is being used for testing things such as vLAN definition or so. UCS Emulator it’s an OVF you can deploy in your own virutal infra. It’s available from here
Steps:
- Define and the vLAN in both uplinks (vLAN-Groups)
- Define and configure the vLAN in the vNIC Templates.
- Confirm the new vLAN is Service Profile visible.
- Define and configure the vLAN at vCenter level (DVS)
Define and the vLAN in both uplinks (vLAN-Groups)
First of all, log int in the UCS Manger  Then Go to: LAN – LAN Cloud – vLAN, right click and “Create vLAN”.
In wizard, just type the vLAN name, vLAN ID and (this is my advice) you should check if the new vLAN is overlapped.

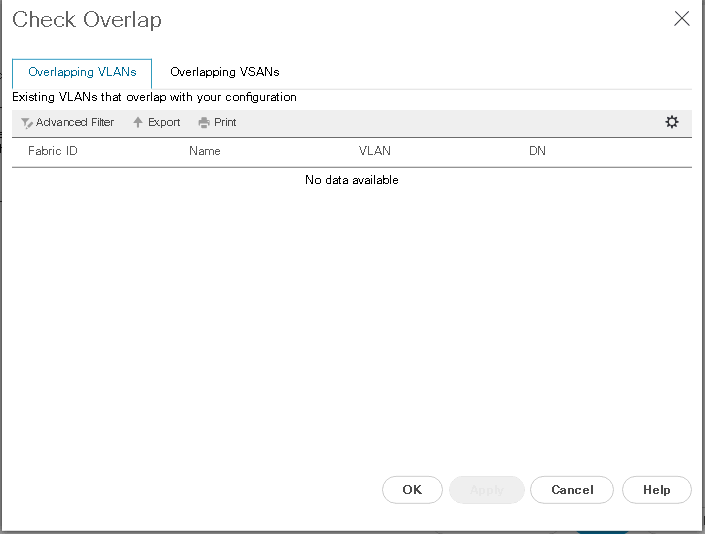
As there is not overlapping, just click OK
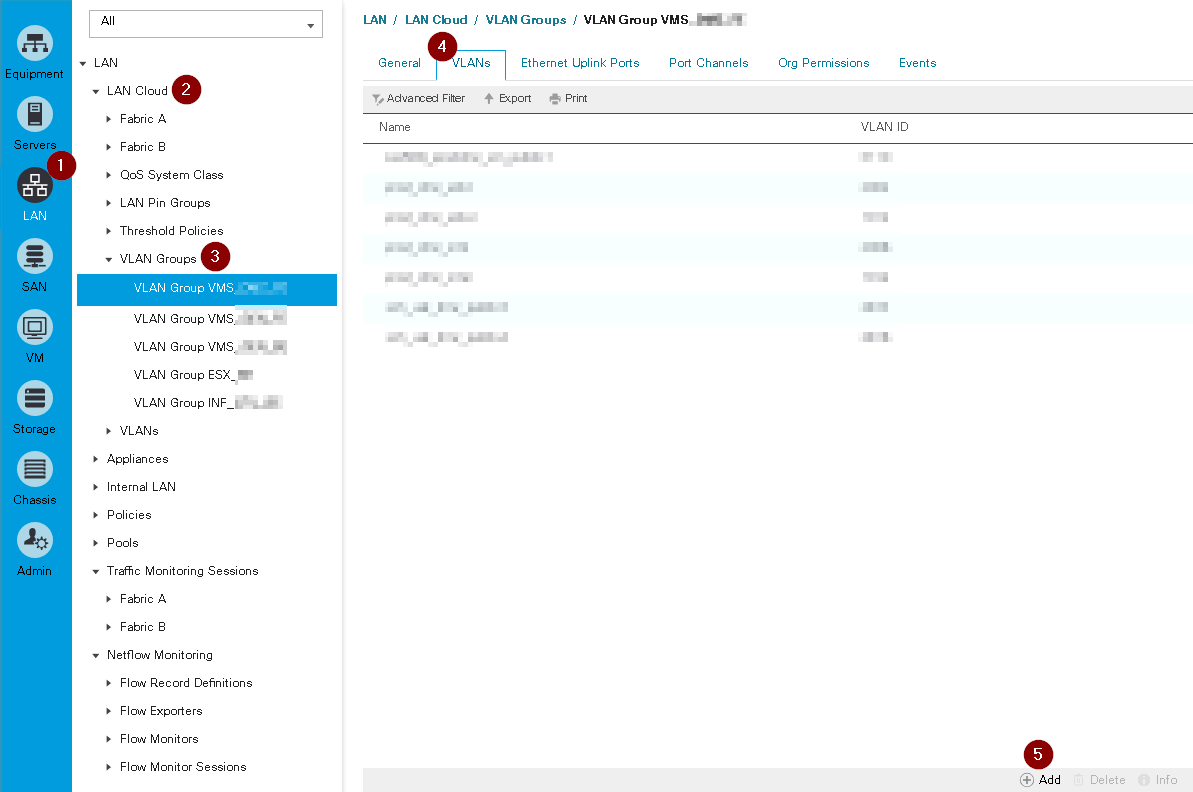
The vLAN has been defined but now it needs to be “published” at Network Fabric level. What does it mean? Simple, the vLAN should be added into the vLAN Groups. In my case, a vLAN group is a set of vlans configured in different Port-Channels with different Uplinks (North – South traffic).
Go to LAN, LAN Cloud, vLAN Groups, add vlan and choose the vlan has been created in the previous step.
Define and configure the vLAN in the vNIC Templates.
Go to LAN, Policies , root, vNIC Teamplates, <your_vNIC_Template_FabricA>, General Tab, Modify vLANs.
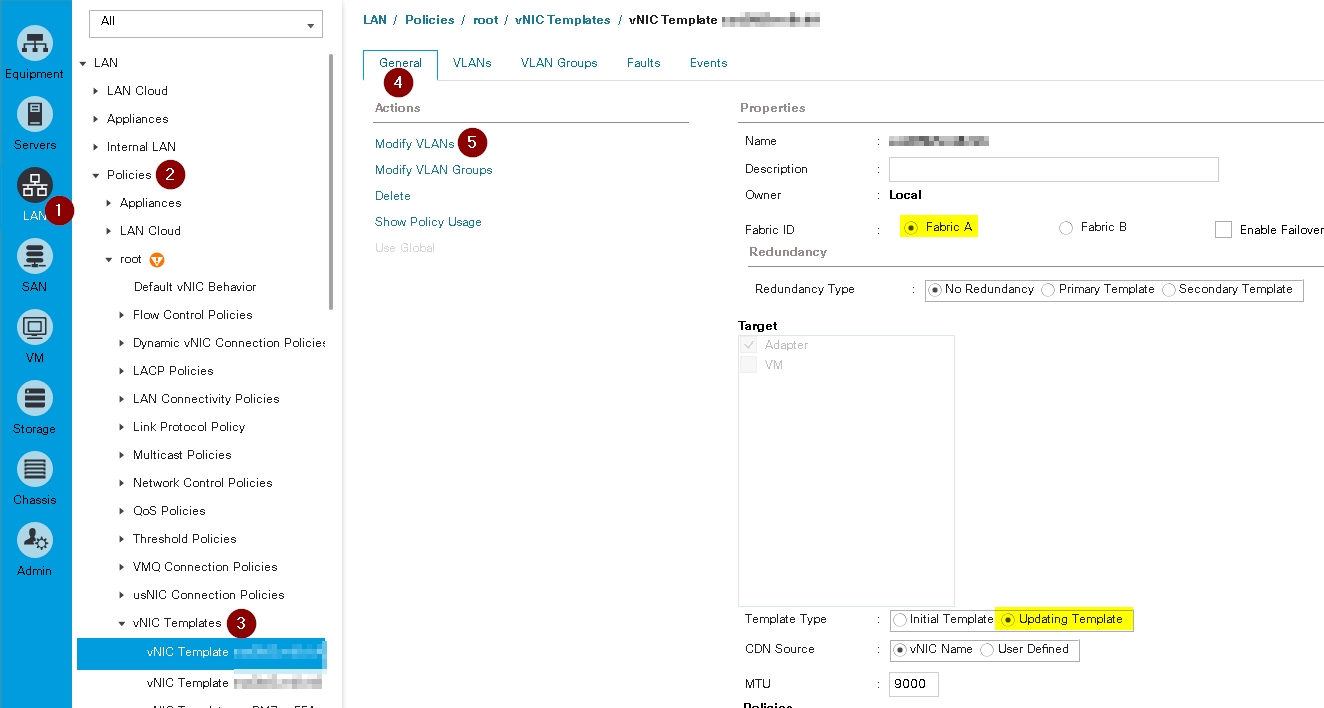
From here, add your new vlan and click OK. Repeat same steps for the same vNIC Template FabricB associated.
Note: In my case, the vNIC templates has been defined as “Updating Template”, so as soon the new vlan is added, the Service Profiles using this vNIC template will be able to see the new vLAN.
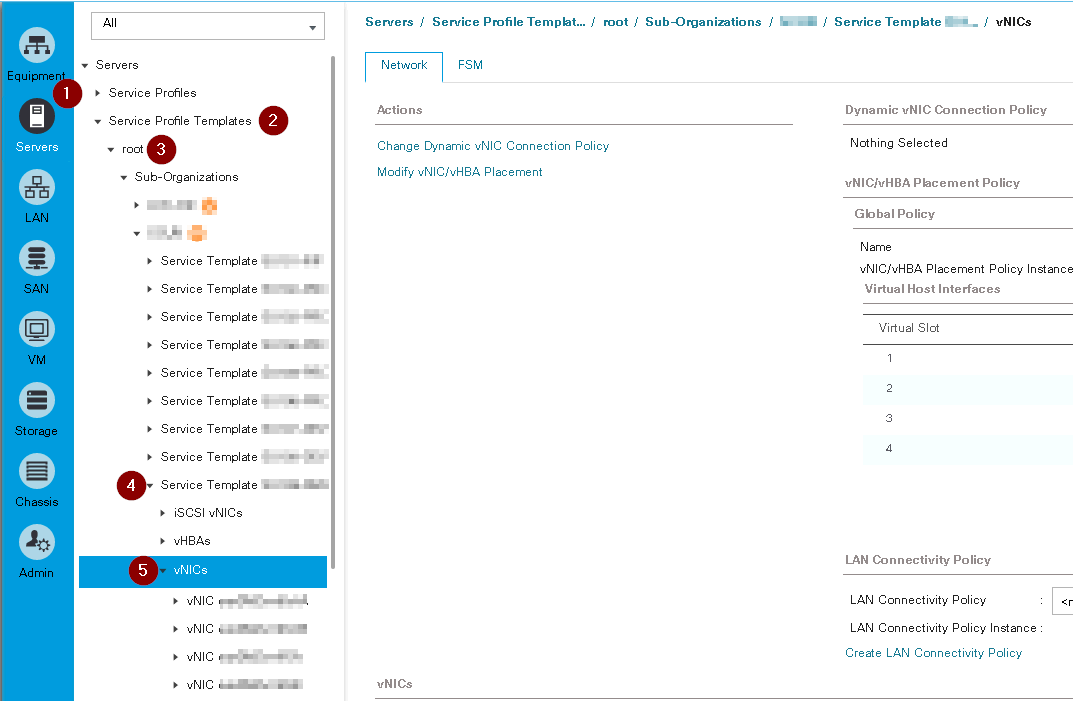
Confirm the new vLAN is Service Profile visible.
Go to: Servers, Service Profiles Templates, root, <your_service_profile>, vNICs. Your new vLAN should be listed in the vlan column
Define and configure the vLAN at vCenter level (DVS)
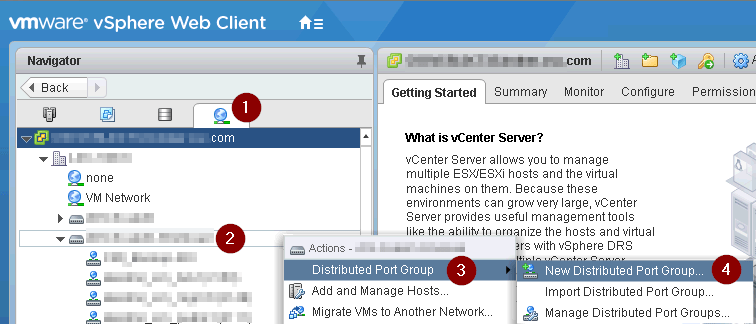
Log in the vCenter WebClient and go to: Home, Networking, <your_distributed_virtual_switch>, right click Distributed Port Group, New Distributed Port Group
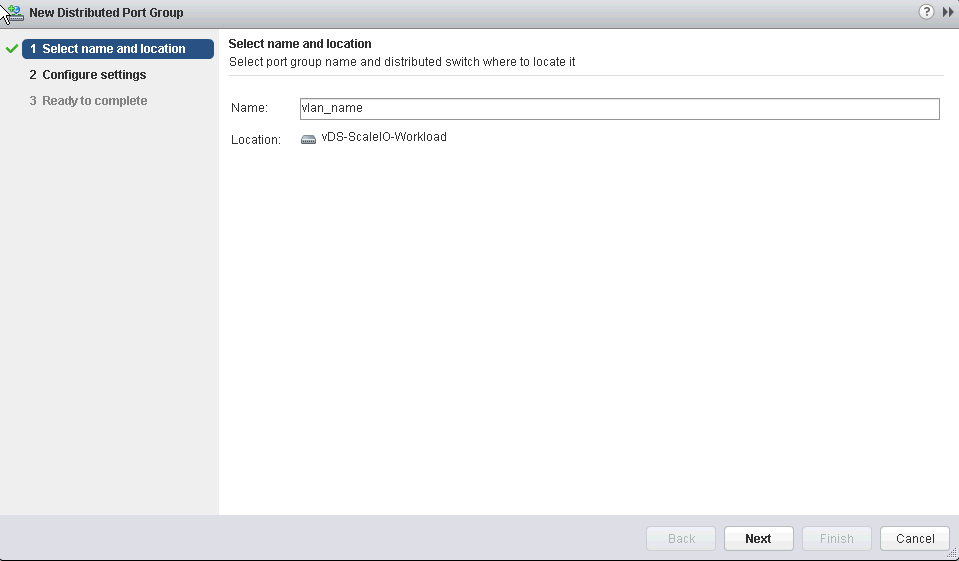
Type the vlan name, select vlan type and enter your vlan ID. After that finish the wizard keeping rest of the default values (in mycase)

I hope it helps you!!! Thanks for sharing!!!
Jean
admin
Nicko
admin
Karthy
Mario
admin